User Manual
Everything you need to set up and run your digital menu.
Introduction
FoodMenu is a modern QR-menu platform built for cafés, restaurants, bars, and other food-service businesses.
The system lets you create multilingual digital menus, manage categories (food — starters, salads, hot dishes, desserts; beverages — hot drinks, cold drinks, wine, spirits, and so on) and the products grouped within them — the actual dishes and drinks you offer your customers.
You can also tailor the visual style of your digital menu to your brand by uploading your logo, choosing brand colors, and generating QR codes for your customers.
Quick Start
To start using FoodMenu, follow these steps:
- Request a demo version
- Log into the platform
- Add your object (café / restaurant)
- Select languages and currency
- Upload your logo and brand colors
- Create menu categories
- Add menu products (dishes, beverages, desserts, etc.)
- Generate a QR code
- Share the menu with your customers
Every stage is explained in detail below — please follow the instructions carefully.
1. Initial Access & Usage
1.1 Homepage / Demo Request
If you run a food-service business, this application is for you. You can visit the website completely free of charge at https://foodmenu.ge/.
To get started right away, request your personal demo version using the “Request DEMO” button in the upper-right corner of the homepage.
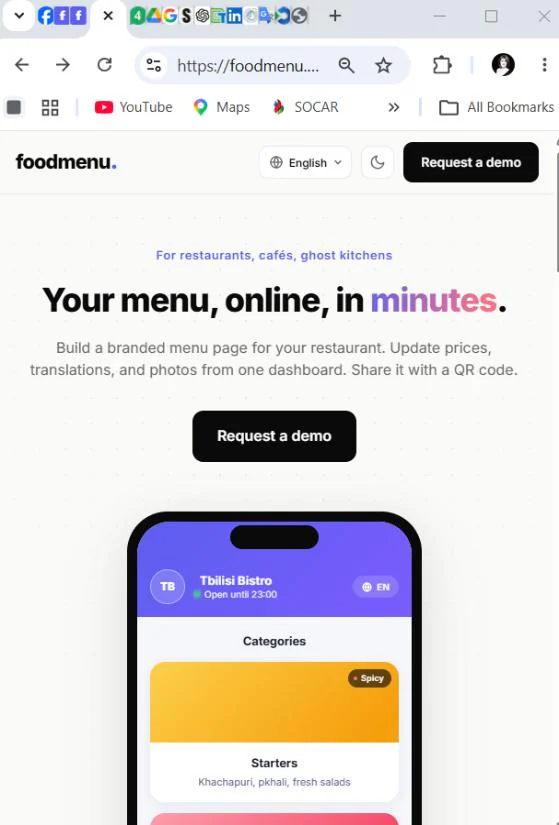
On the homepage, note the multilingual language selector — switch to your preferred language and review detailed information about what FoodMenu can do.
Main homepage sections
- Product overview
- Request Demo button
- QR menu advantages
- Multilingual support
- Contact information
What to do
- Click the “Request Demo” button to receive your login credentials by email
- Explore the platform’s features and capabilities
1.2 Demo Request Form
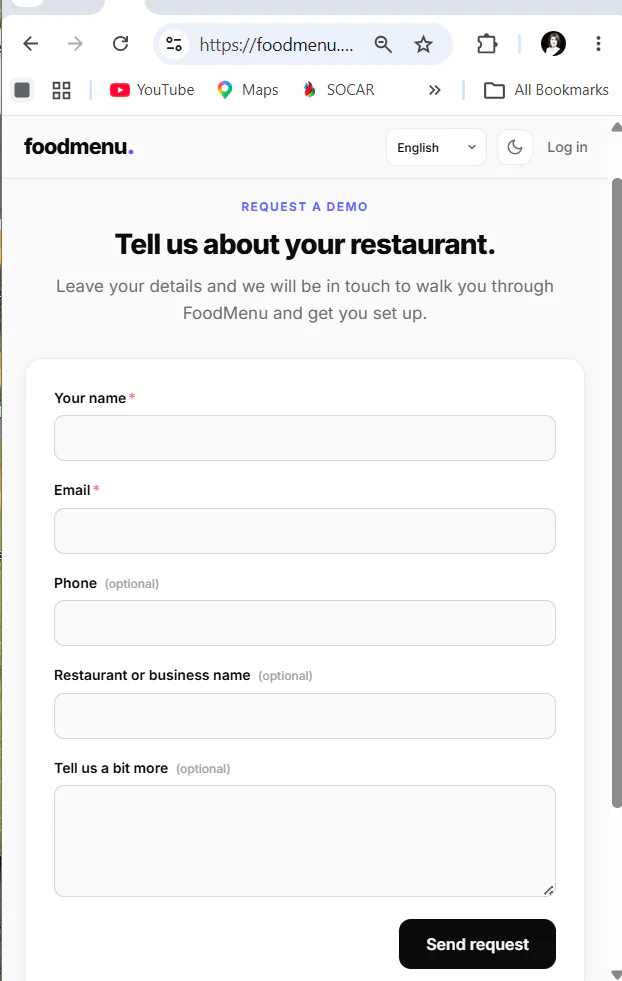
Use the online form to submit a demo request.
Fields (* required)
- Object / company name
- Contact person *
- Phone number
- Email address *
- Additional information
What to do
- Fill out the form
- Click Submit
- Wait for the FoodMenu team to reply to the email address you provided
1.3 User Authorization
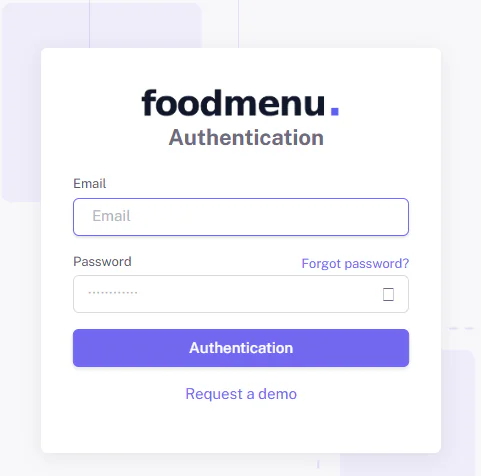
The login form opens when you click the Login button on the homepage. Use it once you have received your initial credentials (username and password) from our team by email.
What to do
- Enter your email address
- Enter the password provided by our team (we recommend changing it after your first login)
- Click the Login button
2. Café / Restaurant Management
2.1 Creating a Café / Restaurant
After logging in, you are taken to your profile, where you first add your object information (café / bar / restaurant).
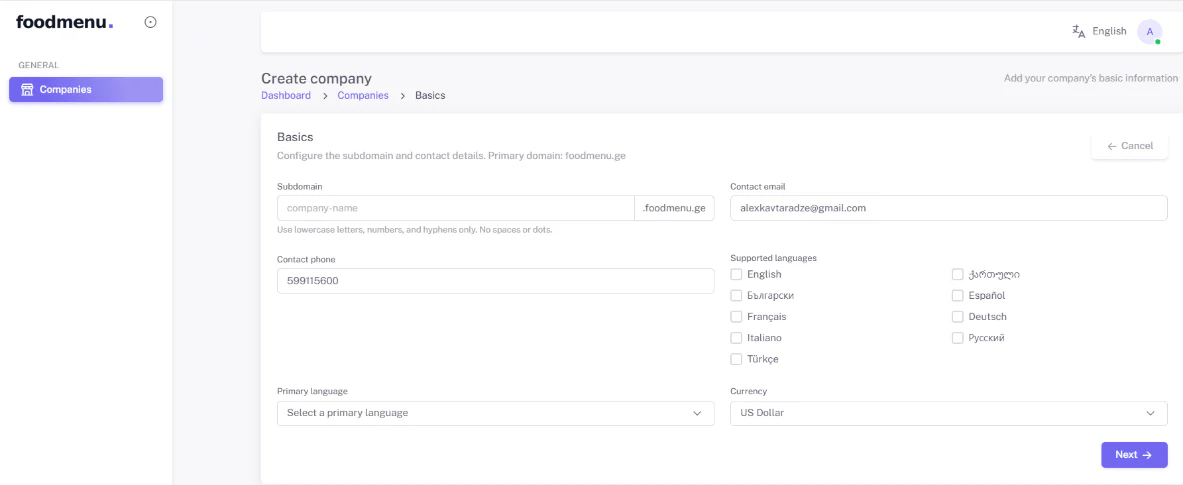
Main fields (* required)
- Subdomain name * — enter your object name with no spaces or special characters; a unique menu URL and QR code are generated from it
- Contact email
- Contact phone number
- Address
- Primary language
- Additional languages — one or more languages that will later be used for your menu translations
- Currency — used later for your product prices
What to do
- Fill in the information
- Click Next
2.2 Object Details
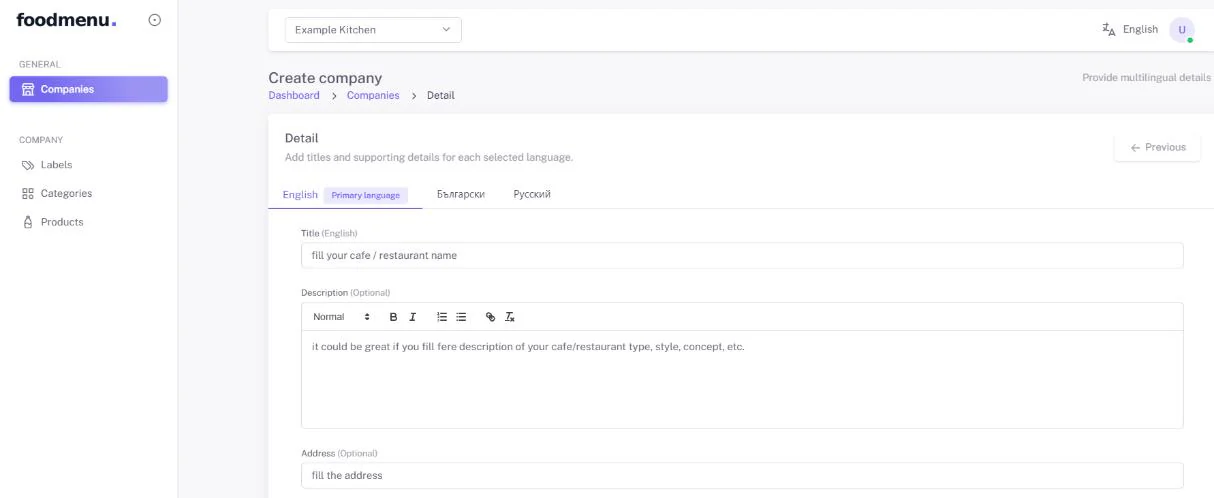
In the Object Details tab, enter the information for every language you selected in the previous step.
Required information
- Object name
- Description
- Address
What to do
- Enter the information
- Save with “Save Step”
- Click “Continue” to move to the next tab
2.3 Language Management
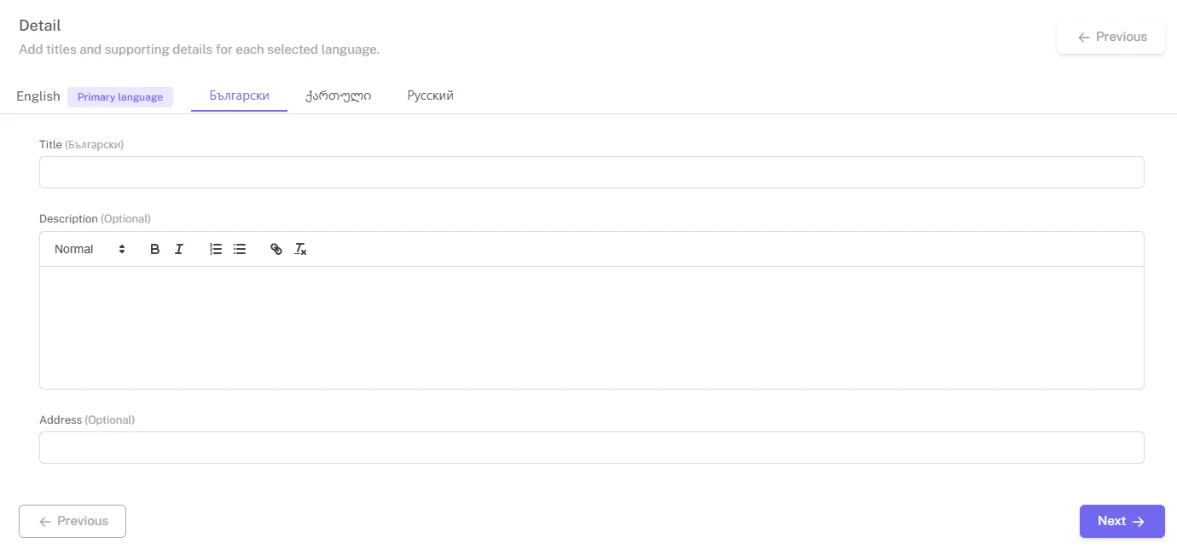
Manage your multilingual content. A separate tab is provided for each language to make translation easier.
What to do
- Select a language tab
- Enter the translated text for that language
- Save your changes
2.4 Social Media & Branding
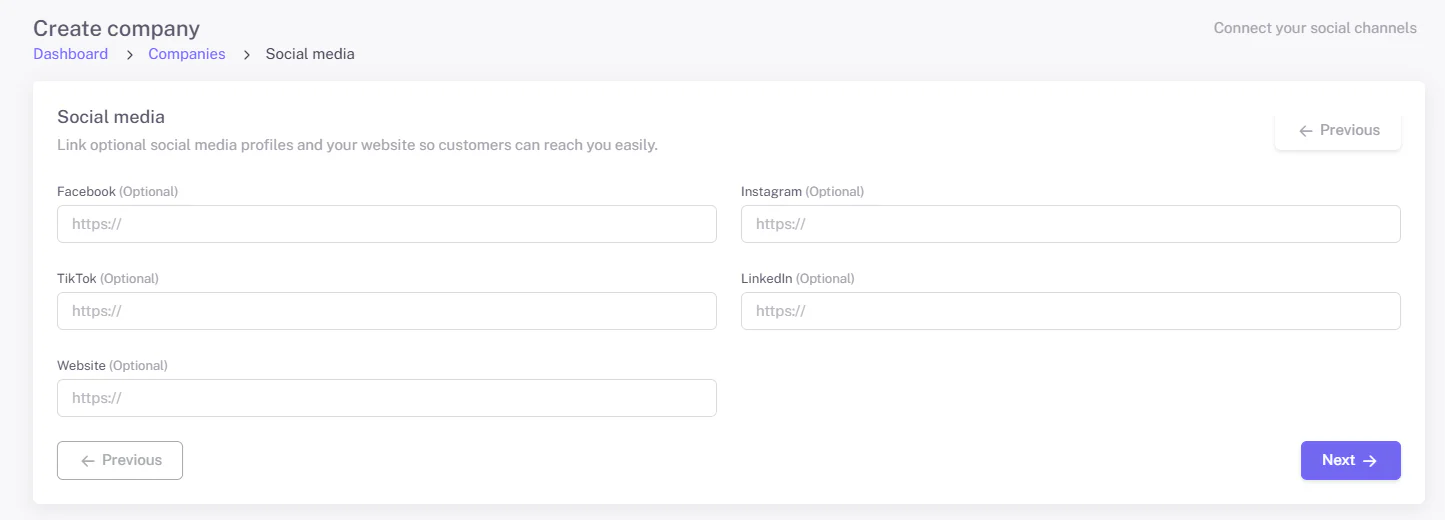
Add links to your social media pages. Matching icons appear on your QR menu page and send customers to your official accounts.
Supported platforms
- TikTok
- Official website
What to do
- Add the relevant links
- Save your changes
2.5 Design (Logo & Colors)
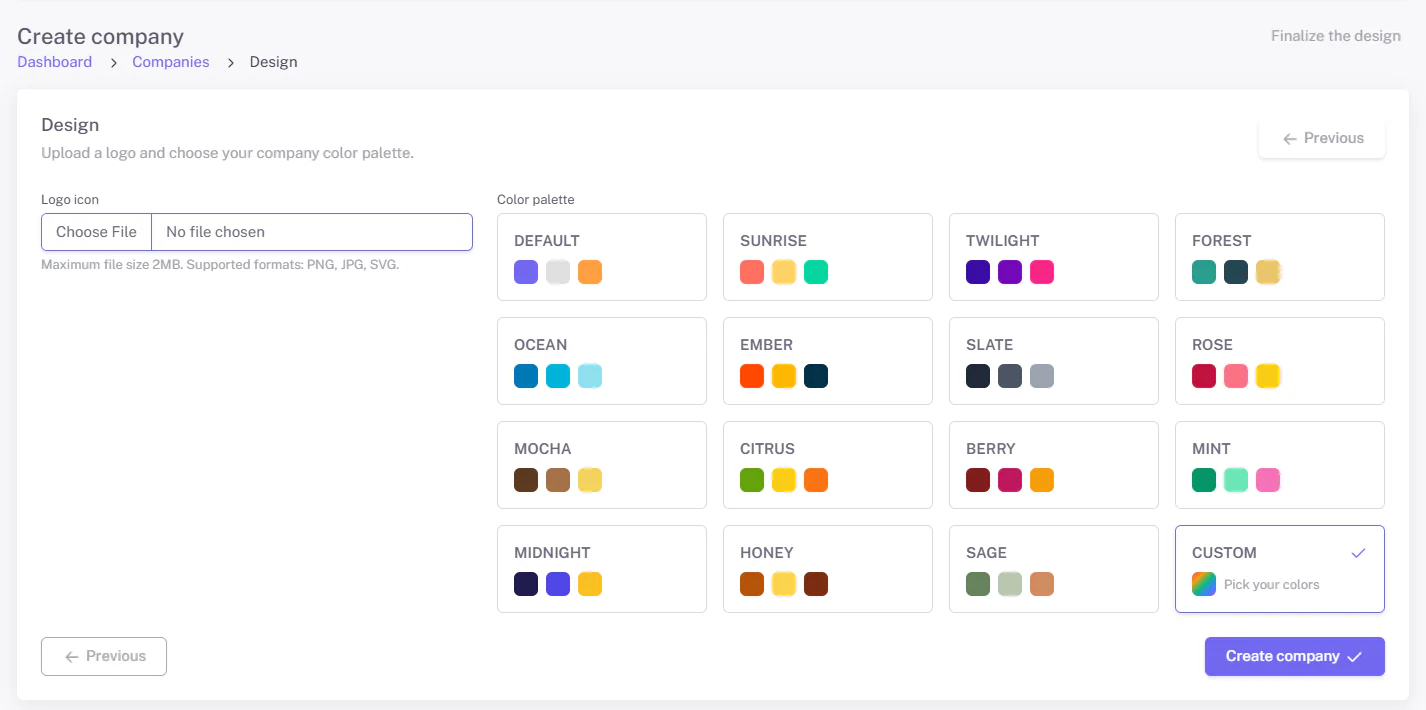
Customize the look of your menu to match your brand by uploading your logo and choosing your colors.
What you can set
- Upload a logo
- Choose a color palette (or pick your own custom colors)
- Manage your branding
What to do
- Upload your logo
- Choose your colors
- Save your changes
Your object’s initial setup is now complete — you can move on to building your menu.
2.6 Object List
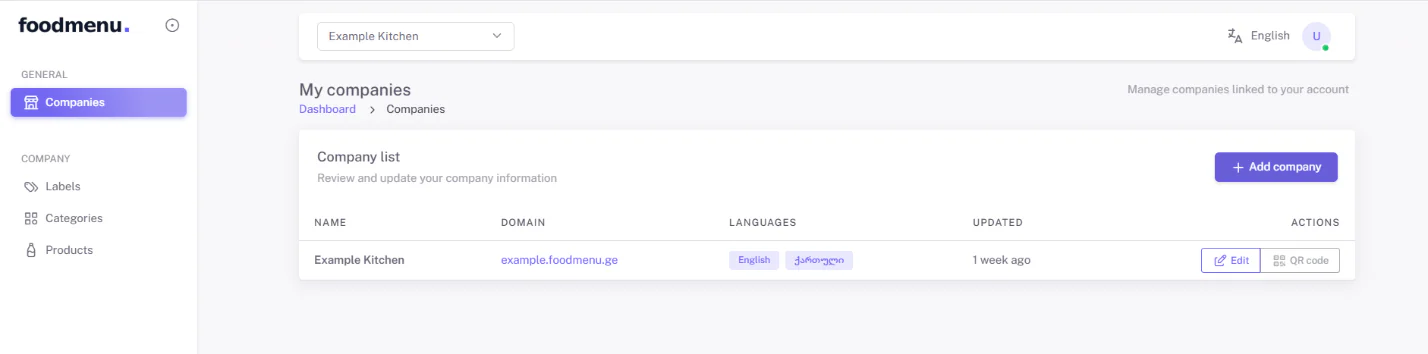
Features
- Search
- Filtering
- Editing
- Status management
2.7 QR Code Management
At the end of each object’s row you will see two buttons: Edit and QR Code. Edit opens the object management page; QR Code opens a window with your object’s unique, ready-generated QR code.
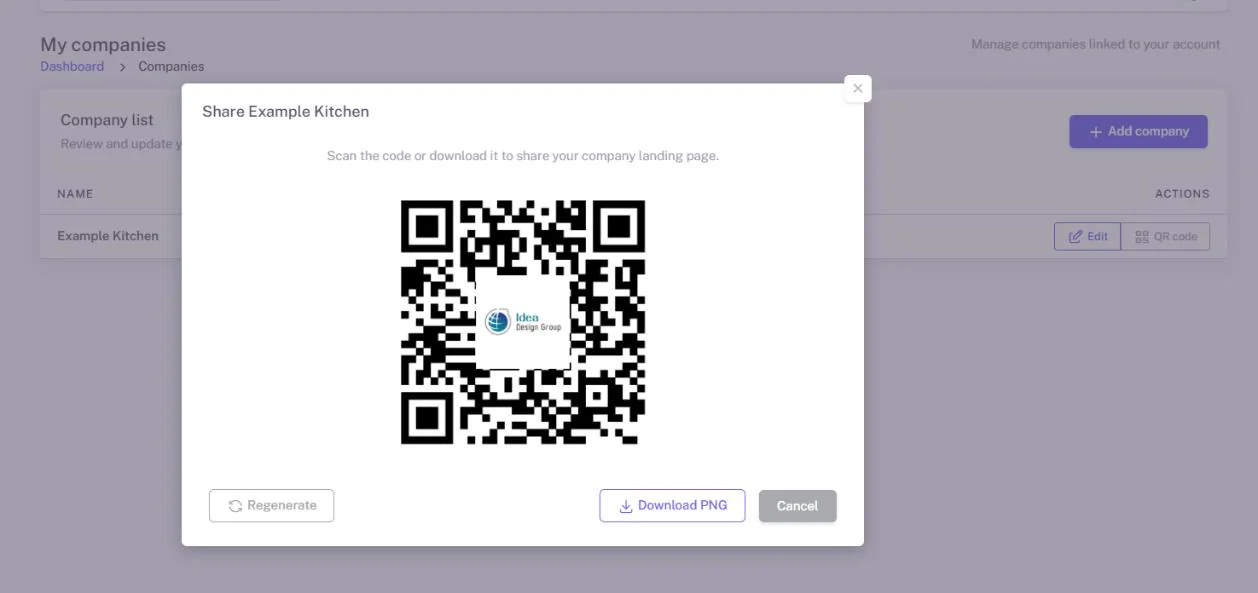
Features
- QR generation
- QR preview
- Download (a transparent PNG, so it sits on any background color)
- Menu linking
What to do
- Generate the QR code
- Download the QR code
- Print or share it
3. Menu Management
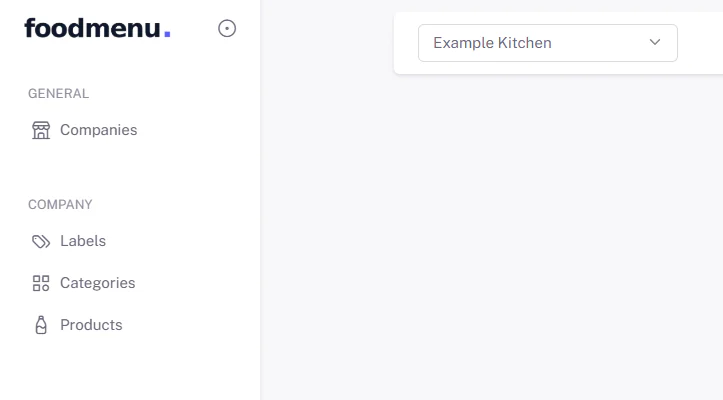
The system organizes your menu into three building blocks:
- Categories — menu sections such as starters, salads, main dishes, desserts, etc.
- Labels — product attributes such as Vegan, Spicy or Kids Friendly that help customers understand a product at a glance.
- Products — the actual dishes, beverages and items your customers choose.
3.1 Category Management

Create menu categories such as Main Dishes, Desserts, Drinks, Breakfast, Cocktails, and so on.
A category card includes
- Title / name
- Description
- Image
- Label (optional)
What to do
- Click “Add Category”
- Fill in the information
- Save your changes
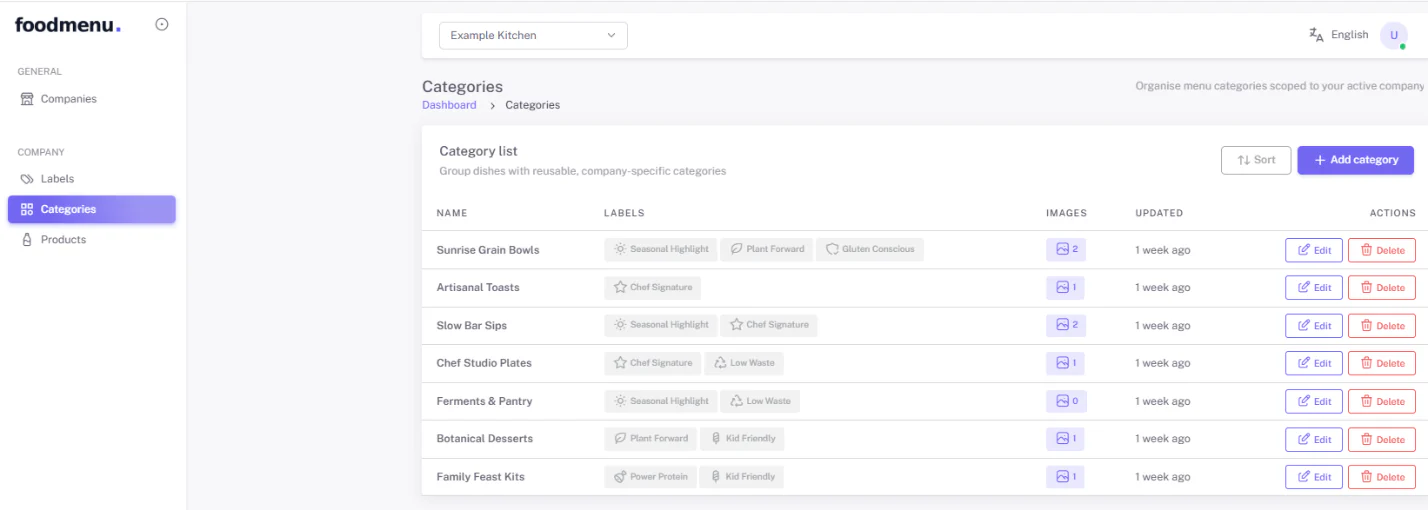
The category list lets you
- Search
- Filter
- Edit
- Delete
3.2 Label Management
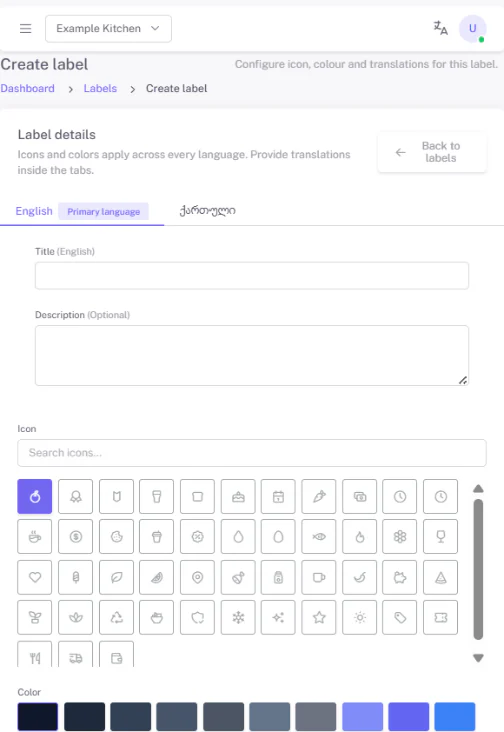
Labels can be created for products and/or categories — for example Spicy, Vegan, Bestseller, New, or Gluten Free.
Each label includes
- Title / name
- Description
- Icon (a visual pictogram)
- Color
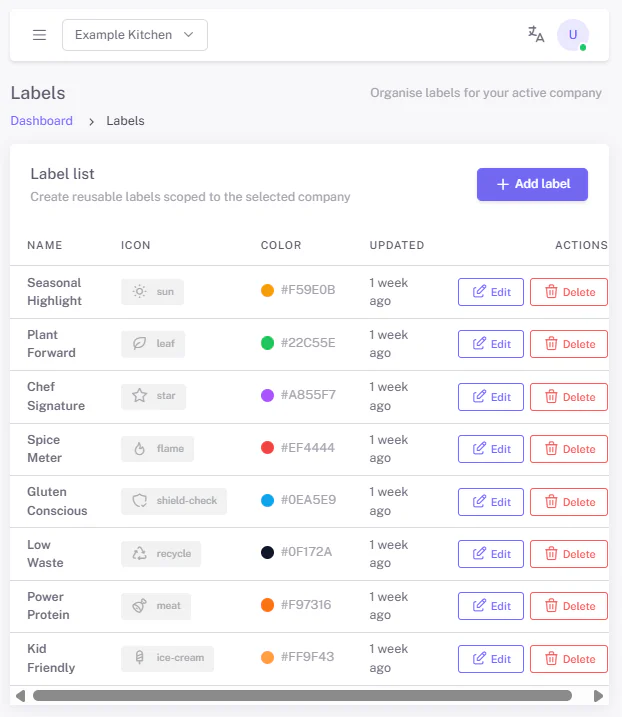
The label list lets you
- Search
- Edit
- Delete
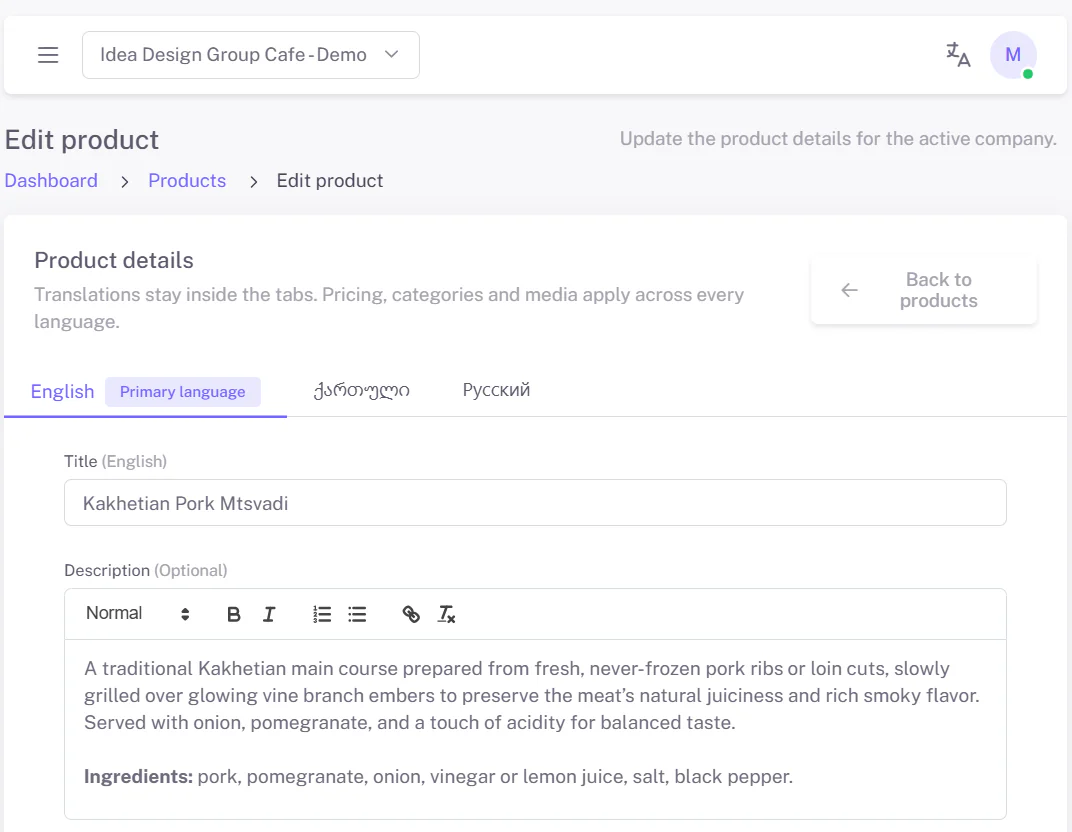
3.3 Product Management
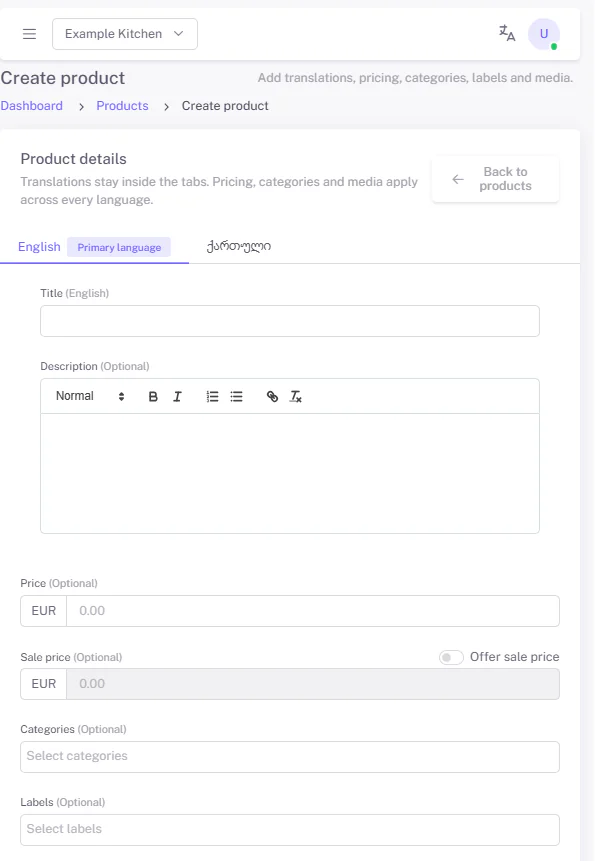
Open Product Management and start adding products with the “Add Product” button.
Main information
- Product title / name
- Description — we recommend including ingredients, portion weight and any special characteristics
- Price
- Discount price
- Image
- Category
- Labels (optional)
What to do
- Click “Add Product”
- Fill in the information
- Upload image(s)
- Save your changes
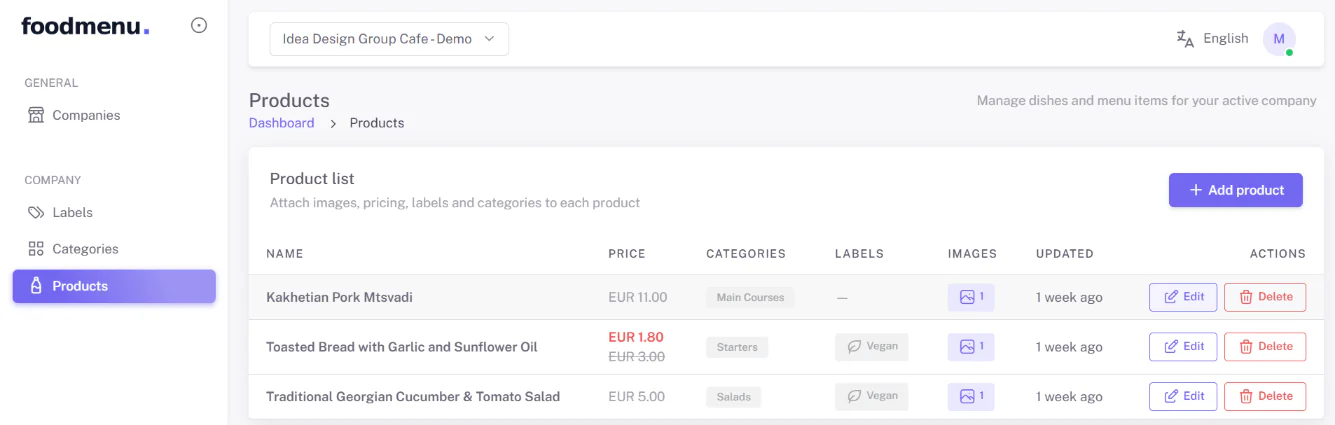
The product list lets you
- Search
- Filter
- Edit
Product details include
- Image
- Description
- Ingredients
- Price
- Discount
- Labels
- Category
- Translations